
Data grid columns tab
When you select your data on the 'Select data' tab, a list of columns (or fields) from your database is displayed in a list here:
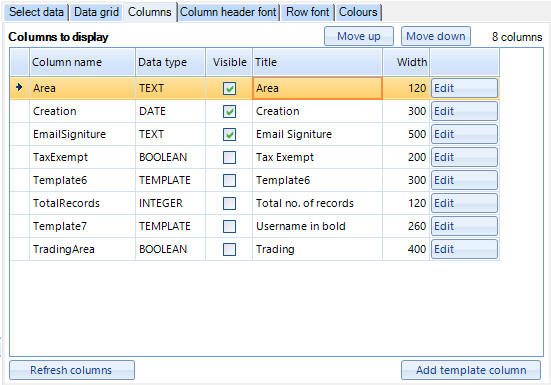
The grid shows you the data type of each column allows you can use the tick boxes on the Visible column to tick whether to display each column or not. You can also click in the Title names such as the Area column name in the above example:
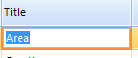
and just type in a new column header. The same can be done with the width's column:

so that you can set individual widths for each column.
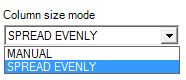
Note - If on the 'Data grid' tab you have selected anything other than MANUAL in the 'Column size mode' drop down list, then you wont be able to edit column widths:
There is also an edit button next to each of your columns in the list:

You can use this to format the column. The editing screen that appears is different depending of the data type of your column. For example, if you column is TEXT then you will get an editing screen with text formatting options. If a DATA/TIME column, then you will be able to choose how to display your date information. TEMPLATE columns have a different screen altogether. You can use the help pages on the screens that appear to get more information on your options.
Column order
The top row will be the first column in your data grid. You can use the 'Move up' and 'Move down' buttons to reorder them as you see fit.
Template columns
There is an 'Add template column' button to add a new template column to your grid. This allows you to build up a custom template to display field information from any fields in your records. See the Template columns help page.
Refresh columns
If you alter the SQL statement on the 'Select data' tab you will need to click the 'Refresh columns' button to collect a new list of columns to go in this list.