
Spreadsheet editor
You can use this screen to build up a spreadsheet for displaying with the Spreadsheet control. It uses a similar layout and design to Microsoft Excel and supports many of it's features. Users will need to be familiar with using spreadsheets packages in order to use this screen.
When finished editing, click on the 'File' tab and use the 'Save and close' button to return to the previous screen. Note - Your actual Repeat Signage presentation file is not actually updated until you use 'File' then 'Save' on the designer screen.
Additional notes
Duplicating pictures
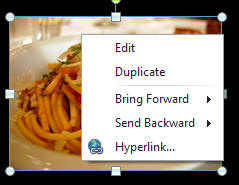
If you need to make a copy of a picture within a spreadsheet, then click on the picture and use the right mouse click menu's 'Duplicate' option. This will duplicate the picture and keep all the original source picture settings. You could use copy and paste but this just copies the picture and inserts as an embedded picture and then you only have resizing option. If you use copy and paste, rather than duplicate, on a Repeat Icon, then again makes the copy an embedded image and you will be able to edit and switch to a different icon, or change colours.
Previewing at the spreadsheet control's current size in the designer
See Spreadsheet preview at same size as control.
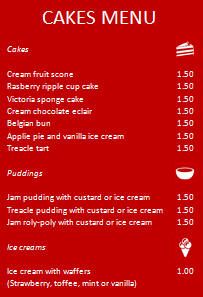
Pictures and Repeat Icons
You may want to decorate your spreadsheets with Repeat Icons and pictures, so the spreadsheet tool bar has these insert buttons:
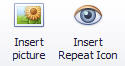
which support our Repeat Icons:

which can be used to decorate spreadsheets:
and our picture system:
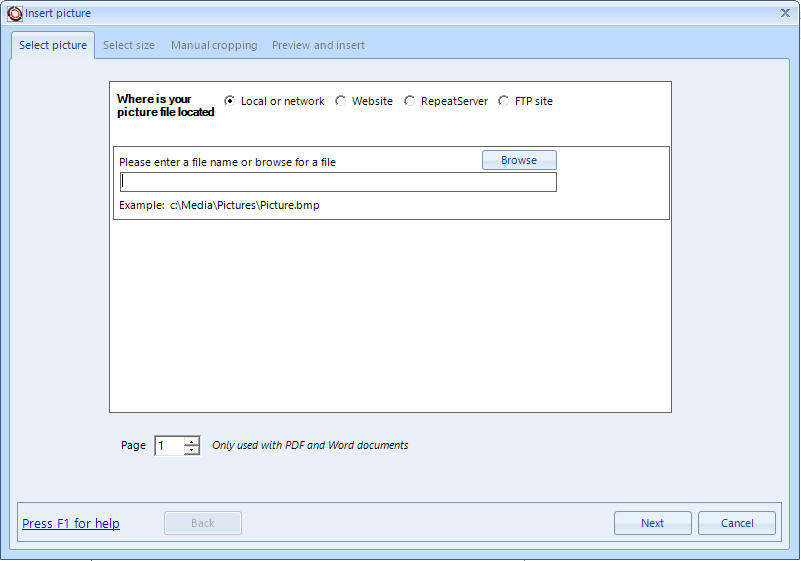
so you can collect pictures from a variety of sources. It allows you to crop and resize images to insert into your spreadsheets.
Rotating pictures
Pictures can also be rotated by clicking on them and using the resizer handles an the green circle rotate handle:


Pictures added you to spreadsheets through Repeat Signage save details on your icon or picture and double click pictures allows you to edit them with ease.
Support
If you have any questions or would like help creating your spreadsheet, then please email us at support@repeatsoftware.com and we will be happy to help. Use the 'Save as' button to save your existing spreadsheet to a .xlsx file, which you can attach to your email, which will help us to answer your questions.
Importing an existing spreadsheet
You can import an existing Excel .xlsx file (or an Excel 97/2000/XP .xls) by clicking on the 'File' tab and using the 'Import spreadsheet' button. This will overwrite your existing built in spreadsheet. This overwrite doesn't happen until you save. If you change you mind you we suggest you use the 'Close' button and 'Close without saving' when prompted.
When you import an existing spreadsheet, the source spreadsheet is not changed.
Exporting your built-in spreadsheet to an Excel spreadsheet .xlsx file
Click on the 'File' tab and then the 'Save as' button to save to an external file.
'Show control area' and 'Preview at control size' buttons
When you create a Spreadsheet control in the designer, if will start by displaying it as a 640x480 pixel sized control. You can then resize this in the designer by using the resizer handles, or updating the width and height on the menu. Clicking on the 'File' tab's 'Show control area' option:

will make the area outside of your control's size pink, so that you can see how much of your spreadsheet will actually be displayed. This doesn't currently take into account if you have changed the 'Zoom percent' option from the default of 100% on the spreadsheet options tab on the previous screen.
This also doesn't work if you control is larger than the current spreadsheet size on screen. We have added a Spreadsheet preview at same size as control menu item:

which allows you to quickly preview what your final spreadsheet will look like within your presentation.