
How to select an area to crop
There are several ways to use the cropping area:
- The green box can be resized by any of the resizer handles in its corners. Just click them, hold the left mouse key down and drag them out.
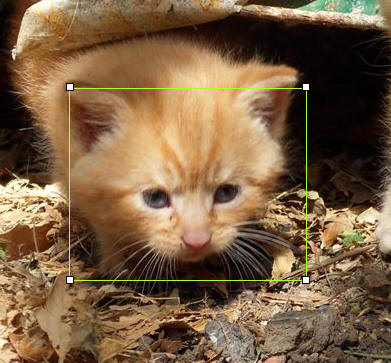
- The green box can be moved by clicking and holding the left mouse in the middle of the green area and then dragging it around. When you release your mouse button it will stay.
- You can also draw an area with your mouse. Click the top left corner of an area you want to crop from (this has to be outside any current green selected area otherwise it moves the area instead), then hold down your left mouse button and drag the 'elastic band' to cover the desired area and then release the mouse button. This will then put a green selection box around you area.

Mask out unselected area tick box
This just puts a pink fade colour on the part of the image that outside the cropped area. This just allows you to see the cropped area better, so you know what you are getting.

When finished
Click on the 'OK' button to return the cropping area to the previous screen. If you have made a mistake or want to revert to the original cropped settings, then click on the 'Cancel' button instead.