
Step 2 - Uploading content files such as pictures and videos to RepeatServer.com
Let's say you have created a picture which advertises a weekly special offer called WeeklySalesAdvert.png, which looks like this:

And you are going to include it in a presentation that will be displayed in the window of a shop your organisation has in London. Each week, you plan to create a new image with a new offer on. The shop is in London, but you are based in New York, so you need to remotely update this image and presentation.
1. Download our sample image WeeklySalesAdvert.png by clicking the link below:
https://www.repeatsoftware.com/downloads/WeeklySalesAdvert.png
to display this in your browser and the right mouse click the picture:
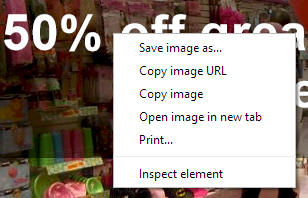

The left picture above is with Google Chrome and the right picture is with Internet Explorer 11.
and select either 'Save image as...' or 'Save picture as...' depending on your browser and then save this picture to somewhere on your hard disk (choose somewhere where you can easily find it later such as your documents folder).
2. Now we are going to upload this picture to RepeatServer.com so that it is centrally available on the Internet so that the shop in London can download and use it. Go back to Repeat Signage and on the 'Repeat Server' tab click on 'Upload' then 'Upload files':
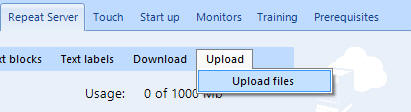
IMPORTANT - You will need an active Internet connection to do this
3. This will display the upload website page from RepeatServer.com (automatically logging you in):
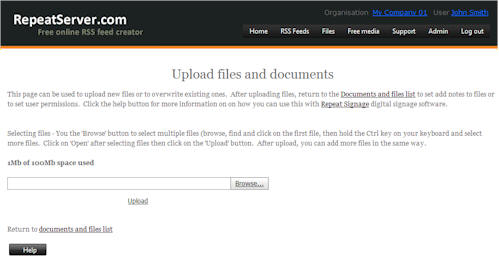
Click on the 'Browse' button and find and select WeeklySalesAdvert.png you saved to your hard disk and then click on 'OK'.
4. Now click on the 'Upload' button which will upload the image to your RepeatServer.com account. This will show you the progress of your upload and then display 'Upload results: WeeklySalesAdvert.png':

5. Now click on the 'Documents and files list' link which takes you to this page:
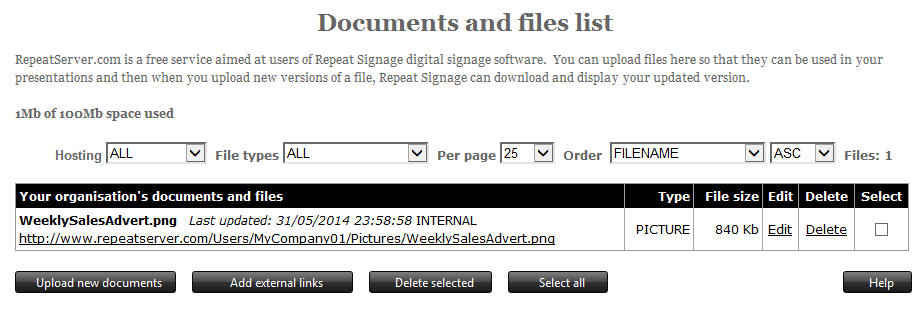
You will see WeeklySalesAdvert.png in the list. It also display the full website address for this file, for example (not a live link):
https://www.repeatserver.com/Users/MyCompany01/Pictures/WeeklySalesAdvert.png
You will notice that the MyCompany01 is the name we chose in the example for this test company. The name of your file will have your account name included instead of MyCompany01. This file is now publicly available (but ONLY to someone who knows the website address) and can be downloaded from any computer in the world. Now since no one knows your account name or the name of your file, then this is NOT going to get spidered and appear in Google searches. By publicly available we mean it is in a central world-wide place and any of your player computers, such as our imaginary shop in London, will be able to use this file.
NOTE - Ideally files that go on the Internet should NOT have spaces in their files names. So for example, if this file was called 'weekly sales advert.png' then renaming it to WeeklySalesAdvert.png' would be a good idea.
6. Click the 'Close' button in the top right corner of the screen:
which returns you to Repeat Signage and your uploaded file will appear in the list:

This file is now on RepeatServer.com and Repeat Signage knows about it so you will be able to select it from any picture based control within Repeat Signage, which is what we will do in the next step.