
Step 3 - Using RepeatServer.com content files such as pictures and videos in Repeat Signage presentations
1. In Repeat Signage, click on the 'Presentations' tab:
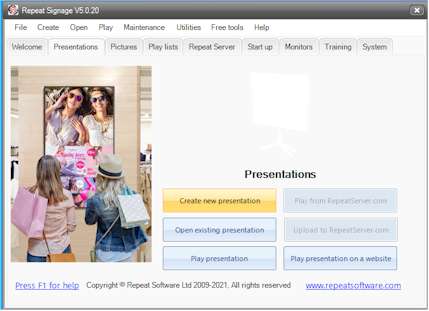
and then click on the 'Create new presentation' button.
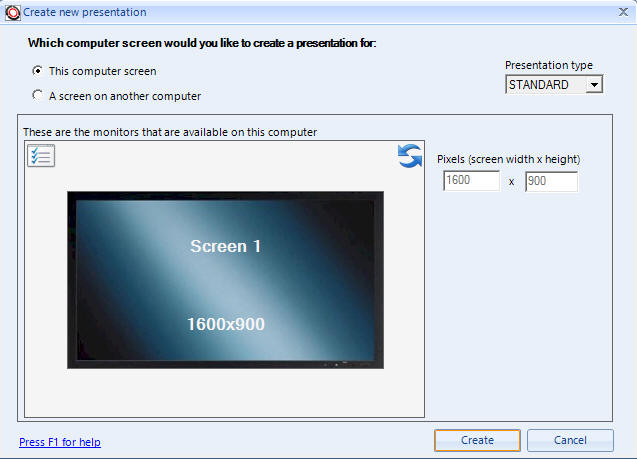
2. We will just use the defaults on the Create new presentation page, so go ahead and click on the 'Create' button:
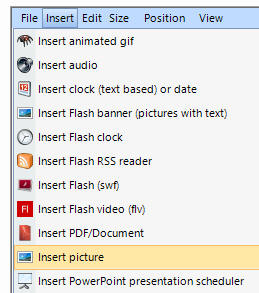
3. From the designer menu, click on 'Insert' then 'Insert picture':
4. Then from 'Where is your picture located' area select the 'RepeatServer.com' option:
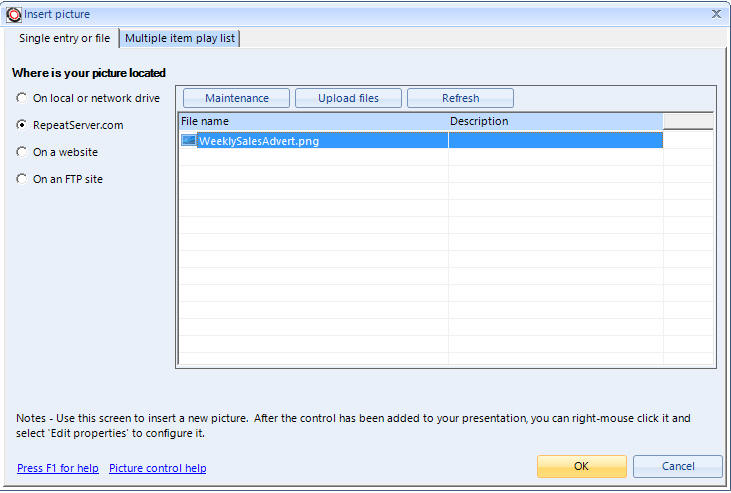
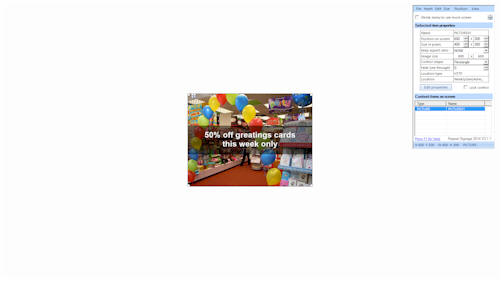
and select 'WeeklySalesAdvert.png'. This will be the only file in your account unless you have already uploaded other pictures. Then click on the 'OK' button to add your picture control to your presentation:
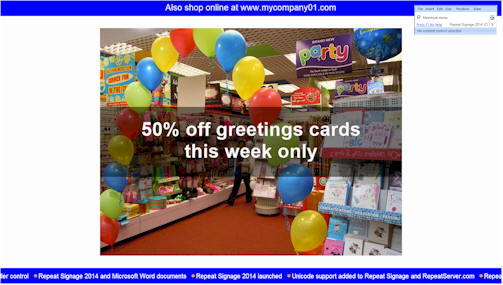
We are just going to leave our presentation at that. We could resize this picture, add our logo, add a news feed at the bottom and add other digital media. A very basic example:
but we are just going to leave it at that for this example.
5. Before we finish, we are going to set our picture control to check every 1 minute to see if the WeeklySalesAdvert.png has been updated. The idea is that once a week, this picture is going to be changed for another weekly offer. The rest of our presentation will stay the same. So right mouse click the picture:
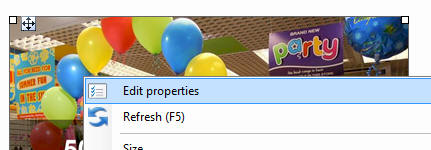
and select 'Edit properties'. (Note - You could have just double clicked the picture instead).
6. On the 'Edit existing picture control' screen that appear, click on the
 symbol in the top right corner:
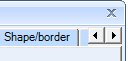
to scroll along the tabs until you see the 'Refresh' tab and then click this:
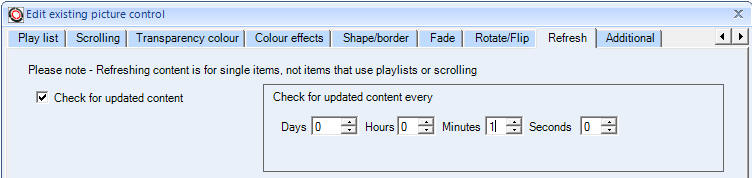
Since we have inserted a file from RepeatServer.com, then the 'Check for updated content' tick box should already be set and the 'Check for updated content every' section should say every 15 minutes. Just for testing, change the minutes to 1 and then click the 'OK' button to close this screen.
The reason we are doing this is that later, when we test changing things, it means we won't have to wait 15 minutes to see what has happened. 15 minutes or more is fine for most items.
You may be wondering if you have to do this refresh stuff with every picture you use in a presentation. The answer is 'no'. You can just build your presentation and if you want to change it later then just edit it. We are going to demonstrate later that you can just change an individual file used by a presentation, which could be a picture, a text file, a video, and RSS feed, etc, and Repeat Signage can update itself whilst a presentation is playing.
When the presentation is playing, then every 15 minutes, the player computer (at the shop in London in our example) will contact RepeatServer.com and read the file header for this file which is located at , for example (not a live link):
https://www.repeatserver.com/Users/MyCompany01/Pictures/WeeklySalesAdvert.png
(your website address will be different as you have a different account name). The file header contains the last modified date and time. The Repeat Signage player then compares this last modified date and time when the version it has stored in its system cache area. If the same, then nothing happens. If the file has changed, then the new picture is download and automatically displayed. This obviously means that there is a little Internet usage when the file header is checked, which is a tiny amount, but this is why it is a good idea to only check for updated content at a sensible frequency. In our example, we only expect the weekly advert to change once a week, so checking for a new file every hour would be acceptable, so if a new advert was uploaded at 8am every Monday morning, then our new advert would be shown within the hour, before our shop opens at 9am.
6. Click on 'File' then 'Save' and give the file a name of 'ShopAdvert.rsp' and save it to your hard disk.
7. Click on 'File' then 'Exit' to come out of the designer screen.
You have now created and saved your presentation. The key thing is that you have used a picture that is hosted centrally on your RepeatServer.com account, rather than using a picture form your hard disk.
| Next step | Step 4 - Uploading your presentation to your RepeatServer.com account |
| Previous step | Step 2 - Uploading content files such as pictures and videos to RepeatServer.com |