
Step 6 - Setting up a remote computer to play your Repeat Signage presentation
What you now need to do is to use another computer as the 'player' computer. In this walk through example, we are pretending this is in our imaginary shop in London. If you don't have another computer handy, then you can still do this on your main computer.
We are going to link this computer's installation of Repeat Signage to your RepeatServer.com account so that it can play the presentation we created. Since this machine will be dedicated to playing your presentations in the shop Window, you will want to set it up so that when it is turned on, the presentation will automatically load and play when Windows starts. This will involve getting Windows to automatically login, so that the Windows log in screen is not displayed, and set Repeat Signage to load automatically.
The remote player computer can be stand alone, as long as it has Internet access. If the computer is on a computer network, then you will need a Windows login account that has minimal access privileges. This is because you will be entering a user name and password which will be use to automatically log on. From a security point of view, if an unauthorised user accessed this computer, closed down Repeat Signage, then they would be able to access information on your network. So if you are using a network, then please set up a minimal login account for this machine with Internet access before you start this step.
We will also be turning off the Windows screen saver and power management which would turn your monitor off, which is obviously not something you want to happen when your presentation is being displayed.
If you need to support this computer remotely, then it would be a good idea to use remote control software which allows you to connect to it over the Internet. We have a list of remote control systems on our Remote control software page.
To summarise what we are going to do:
- Install Repeat Signage on the remote machine
- Connect Repeat Signage to our RepeatServer.com account so that we can access our presentation
- Set Repeat Signage to automatically load and play our presentation at start up
- Disabled the Windows screen saver and power management
- Set Windows to automatically log on when Windows starts
Here we go:
1. If you have not already done so, install the latest version of Repeat Signage from: https://www.repeatsoftware.com/Downloads.aspx.
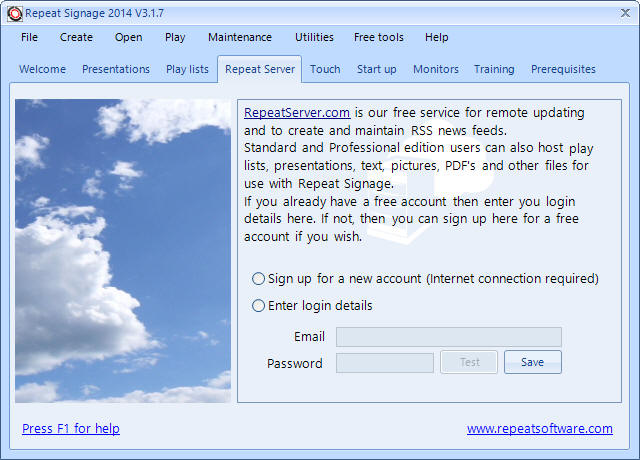
2. Make sure you are logged onto Windows with the user account you are going to use for Repeat Signage. Also make sure you have an active Internet connection. Open Repeat Signage and click on the 'Repeat Server' tab:
ONLY IF YOU ARE USING THE SAME COMPUTER
If you are using the same computer for this walk through, rather than a second computer, then you need to change the user account to the read-only user we created. You will need to remove the old user account first which you can do by on the menu clicking:
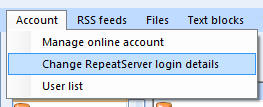
and then delete the email address and password from these boxes:
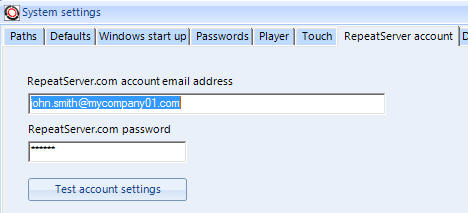
and clicking on the 'OK' button. You will then be returned to the Repeat Server tab:
3. We created a read-only use in last step, so enter the email address and password for that account:
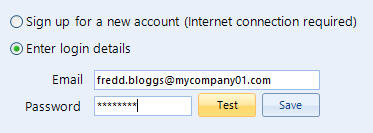
and then click on the 'Test' button . All being well, Repeat Signage will now be linked to this RepeatServer.com account:
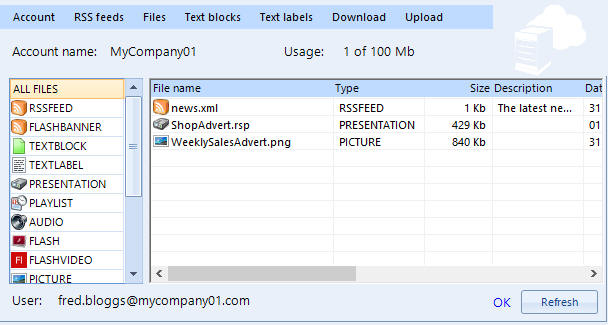
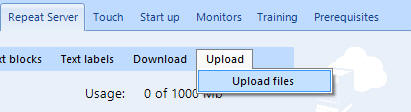
Now, this account is read-only, i.e. you cannot use it to upload files, edit or remove existing files, add or edit RSS news feeds, etc. For example, if you clicked on 'Upload' then 'Upload files':
you would see:

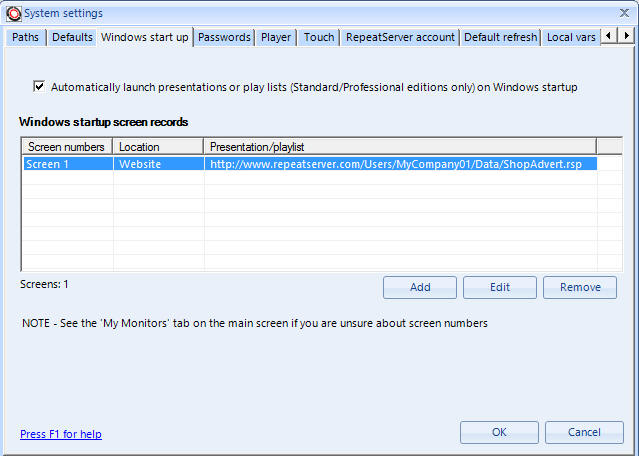
4. What we now need to do is to set this machine up so that when you start Windows it automatically plays our ShopAdvert.rsp presentation. Click on the 'Start up' tab:
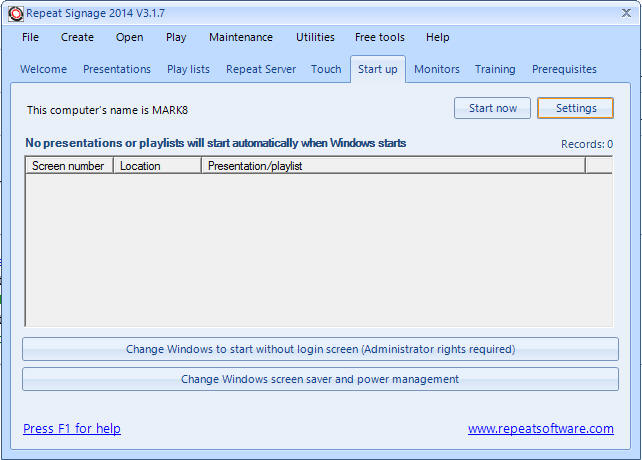
This is where you tell Repeat Signage which presentation (or a play list) you want to start with Windows.
5. Click on the 'Settings' button and then put a tick in the 'Automatically launch presentations or play lists on Windows startup' tick box:
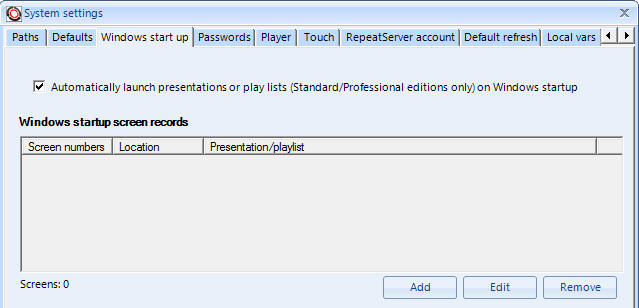
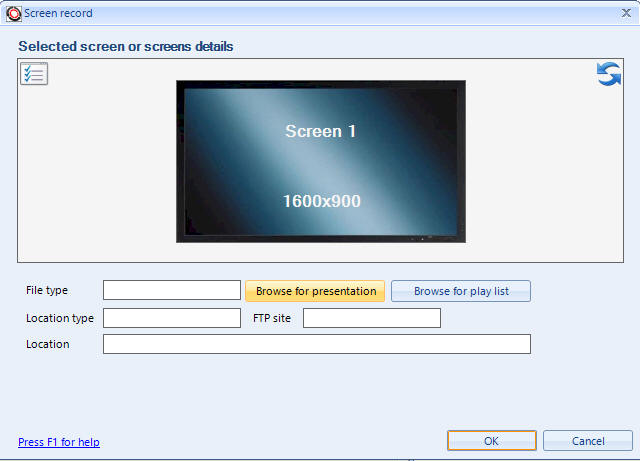
6. The reason there is a grid, is that on the Media Wall edition of Repeat Signage you can display different presentations on different monitors to form a media/video wall. Click on the 'Add' button to display the screen record tab and then click on 'Browse for presentation':
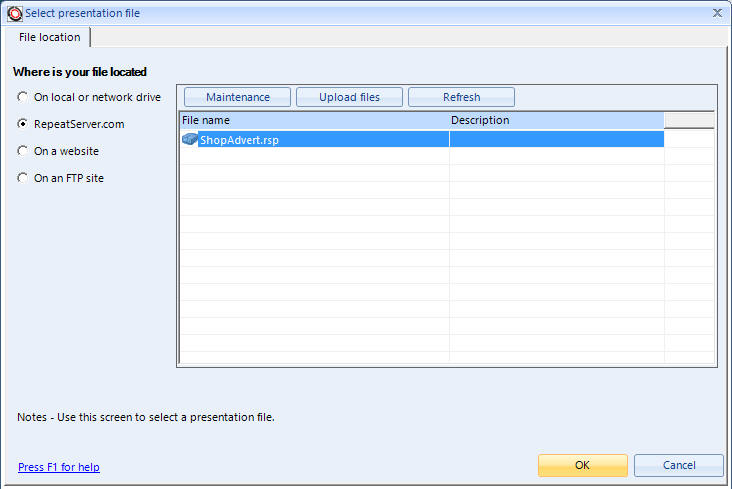
7. Select the 'RepeatServer.com' option and then choose your presentation for the list. In this case there is just our ShopAdvert.rsp presentation:
8. Now click on the OK button. You will see a progress bar as Repeat Signage downloads the ShopAdvert.rsp file to the system cache. The system cache is where all remote files are stored to so that if this computer's Internet connection is not available, all the files are available on the local hard disk so that the presentation continues to play. The presentation is added to:
and you just need to press the OK button once more.
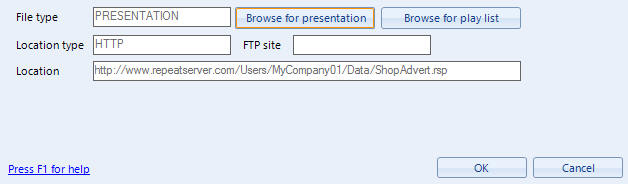
9. You should now see:
You will notice that the full website address of the presentation is shown in the grid. Now press OK to return to the 'Start up' tab on the main screen:
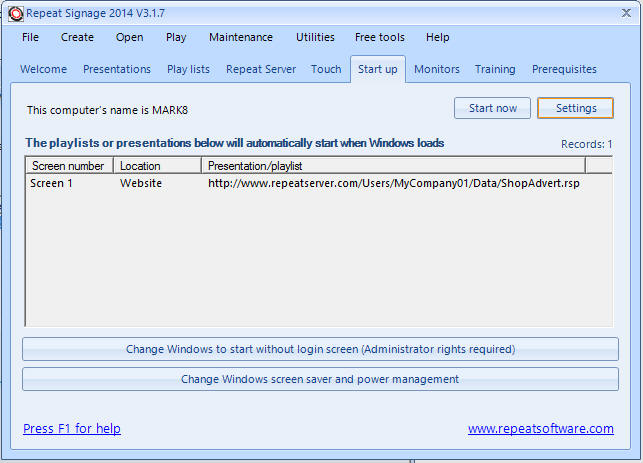
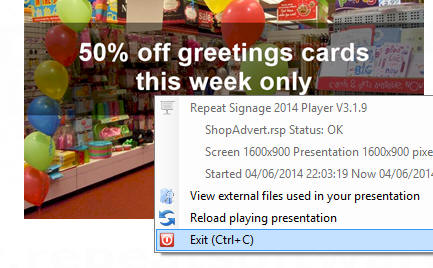
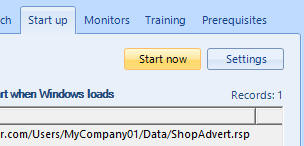
10. You have now set Repeat Signage to start automatically when Windows starts. We are going to test playing the presentation now. Click on the 'Start now' button to show your presentation:

Then close it down by right mouse clicking and selecting the Exit option:
11. Next job is to disable the screen saver on this machine and then the power management. This is because when you display digital signage, you want the presentation or play list of presentations constantly on screen. You don't want the screen saver kicking in or the screen to go blank because the power management turns off your screen after say 15 minutes of inactivity. Click on the 'Change Windows screen saver and power management' button on the Repeat Signage start up tab:
Now what happens next depends on your version of Windows. We are going to show you the Windows 8 screens, which are the same as for Windows 7. For old versions of Windows, then see Disable Windows screen saver and monitor standby instead.
12. Change the 'Screen saver' drop down to 'None':
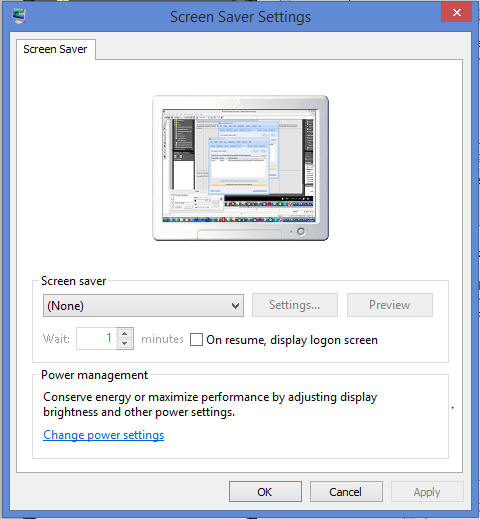
and click on the Apply button.
13. Then click on the 'Change power settings' button.

and then select the 'Choose when to turn off the display' option.
14. Now set the 'Turn off the display' options to 'Never' and also the 'Put the computer to sleep' options to 'Never' as well:
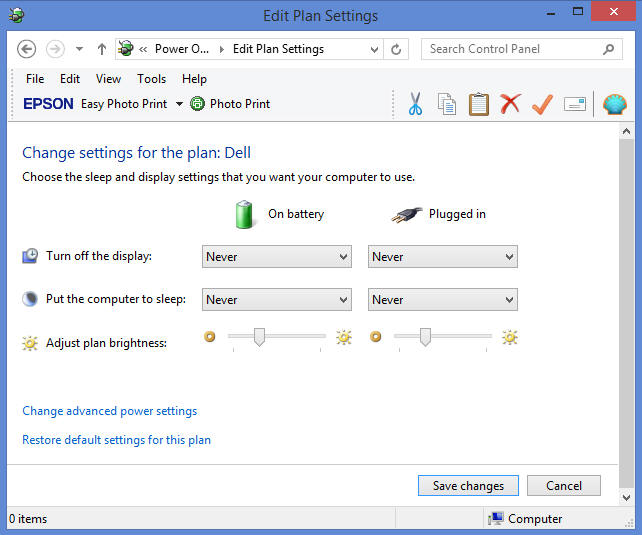
and click on the 'Save changes' button. You will return to the Screen Saver screen so click on 'OK' to close the screen and return to Repeat Signage.
We have now turned off the screen saver and disabled the power management settings that may have interfered with our playing presentation.
When a Windows computer starts it will display a login screen. This is obviously not ideal for a digital signage computer. For example, if you have a power outage and the computer restarts, you want your digital signage presentation to be displayed automatically, rather than having to wait for a member of staff to log it back in. You can configure Windows to automatically log itself in when Windows starts. You have to specify a user name and password of an authorised user.
15. You will need to log onto this computer with an Administrator level account, if the current Windows user doesn't have Administrator privileges. If there is only one user on this computer, then this will be an Administrator. From the Repeat Signage 'Start up' tab, click on the 'Change Windows to start without login screen (Administrator rights required)' button:
Then remove the tick in the 'Users must enter a user name and password to use this computer' tick box:
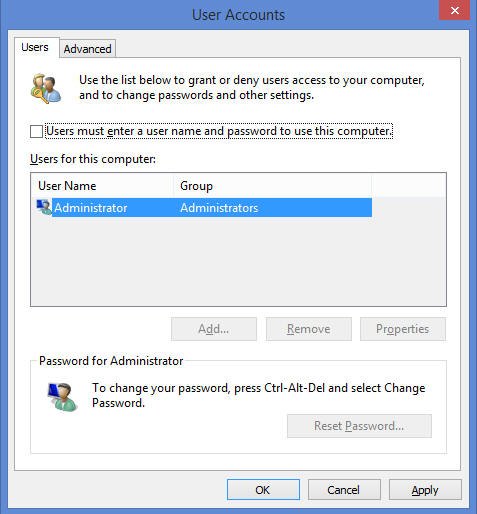
16. Click on 'OK' and you will be prompted to enter a user name and password:
17. Enter your user name and password and then click on the OK button to save your details and close the User Accounts screen.
Your computer has now been set to log in automatically when Windows starts.
So what we have done is to:
- Install Repeat Signage on the remote computer
- Connect Repeat Signage to our RepeatServer.com account so that we can access our presentation
- Set Repeat Signage to automatically load and play your presentation at start up
- Disabled the Windows screen saver and power management
- Set Windows to automatically log on when Windows starts
18 . Additional step for Windows 8/8.1 users - You can get Repeat Signage to start with Windows the same as on previous Windows versions, but you get a problem. After Windows 8 starts you end up at the Start Screen rather than at the Windows Desktop where Repeat Signage runs. To get around this, we are recommending the use of Class Shell which is free software downloadable from http://classicshell.sourceforge.net/. This puts the missing Windows Start bar back into place and also when Windows starts it goes directly to the Windows Desktop which then displays Repeat Signage.
19. The Repeat Signage download from https://www.repeatsoftware.com/Downloads.aspx installs the trial version of Repeat Signage. This never expires but when you play the presentation for over 10 minutes then you will see the trial version message as follows over the top of your presentation:

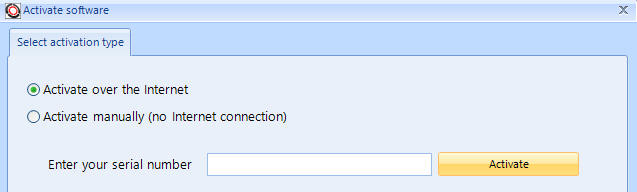
20. So the final step, if you purchased Repeat Signage, would be to activate this copy of Repeat Signage by entering your serial number. To do this, then on the main Repeat Signage menu, click on 'Help' then 'Activate software':

The easiest way is to then select 'Activate over the Internet', enter your serial number and then click on the 'Activate' button:
21. Set the presentation playing by going back to the 'Start up' tab and clicking on the 'Start now' button:
and selecting the OK button on the confirmation message that appears:
If you are using two computers for this walk through, then leave the presentation playing. In the next step we are going to go back to our designer computer and then change the presentation. Leaving your presentation running on this machine will allow you to see remote updating in action when we change and re-upload the presentation.
The player computer is now completely setup and ready to go live. The only thing now to consider is whether you need Remote control software on this computer so that you can dial through to see what is happening and also remotely control this machine. This is a good option if there is no one technical onsite with this machine that could help support any problems. If the remote computer
You could play your presentation from as many remote computers as you like. So you if open a shop in Edinburgh and want to display the same presentation, then just follow these instructions again in this step to configure that computer.
The presentation we created is needs improving, so in the next step we are going to look at updating it, and sending updated version to our player computer over the Internet via RepeatServer.com.
| Next step | Step 7 - Updating your presentation and then updating your presentation running on the remote computer |
| Previous step | Step 5 - Creating an additional user in your RepeatServer.com account |