
Below is a step-by-step walk-through to creating a basic dynamic digital signage presentation, comprising heading, playlist of images and a news feed. Alternatively, view the 4-minute video below.
Overview of Repeat Signage digital signage software (4:37 mins/secs)
Repeat Signage software lets you insert images, text, video, RSS newsfeed or manual scrolling text, documents and other digital me to create digital signage presentations.
Please download the trial edition onto your Windows computer. This is a secure download, no details needed, and you can have the software on your computer as long as you wish. You can play your presentation for 10 minutes before a ghosted 'trial version' message is displayed. This message is removed if you decide to purchase the software. Download Repeat Signage here.
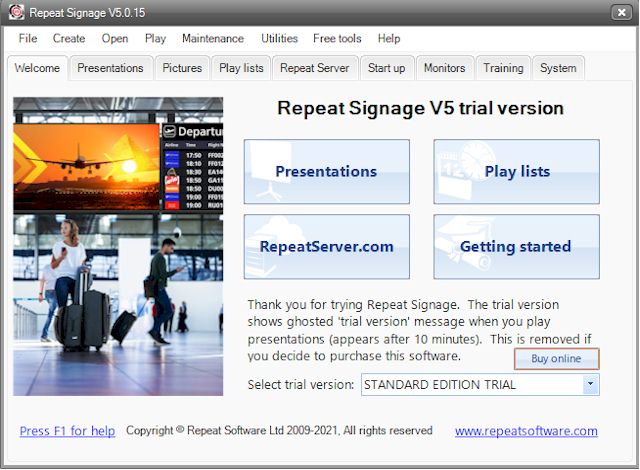
Ready to start? From the 'Welcome' screen, select 'Presentations'.
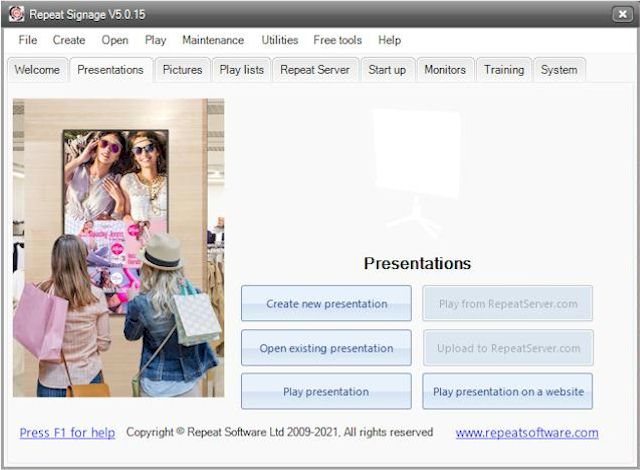
To create a digital signage presentation, select 'Create New Presentation'.
This screen also allows you to 'Open an Existing Presentation' when you want to edit it, and 'Play Presentation' plays it on screen.
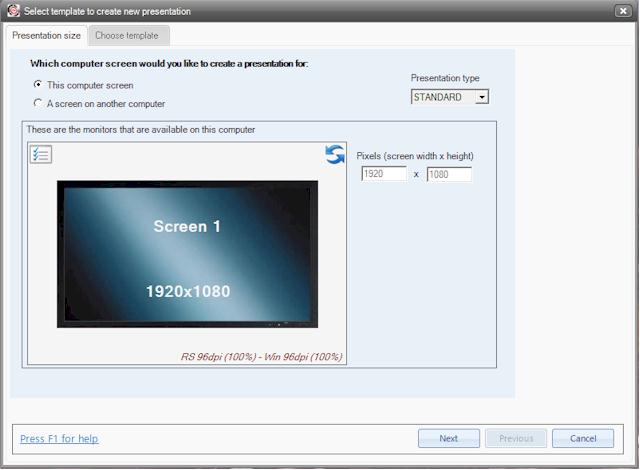
Choose which size computer screen you would like to create your presentation for. By default the software uses your computer screen size and you can change this later.
(Note: Selecting the 'A screen on another computer' gives a list of screen pixel sizes in landscape or portrait, or you can input your own screen resolution, for example, 1920 x 1080.)
Click 'Next'.
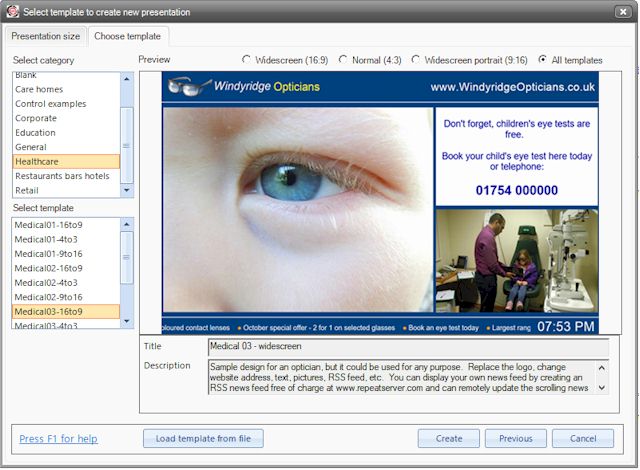
Select a template, for example, a healthcare template, then double click the images and text and replace with your own.
For this demonstration, we'll select 'Blank' template. Click 'Create'.
This opens up the Designer screen
The floating toolbox in the top right corner, is where you add your content. You can drag the toolbox anywhere on the screen and shrink it to make it smaller.
Let's bring in some content. It is easier to keep place all your images and files you want to use, in one folder on your computer, for easy access.
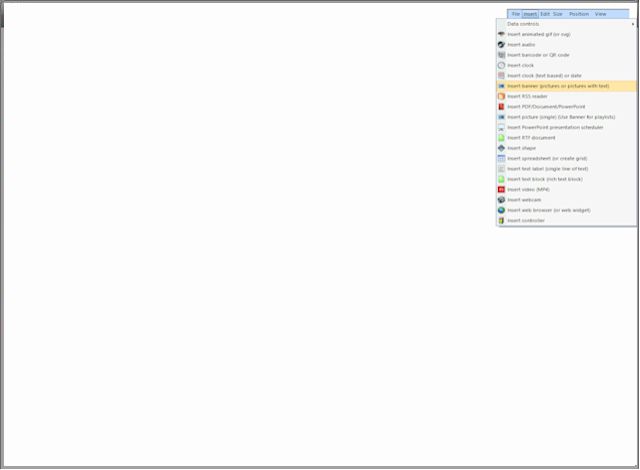
From the toolbox select 'Insert', then 'Insert
Banner (pictures or pictures with text)'. This opens
the Select name
ation screen.
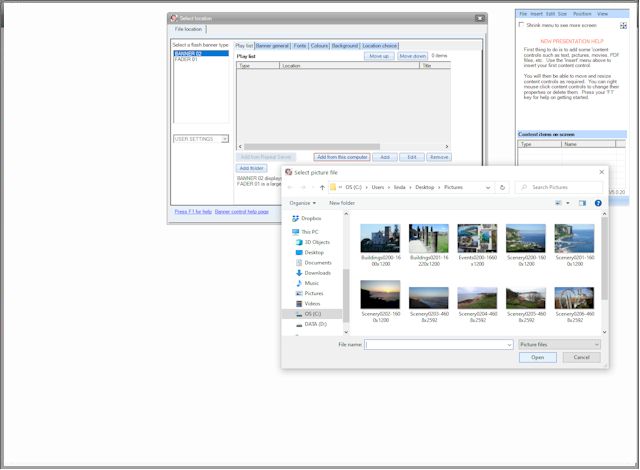
Click on 'Add from this computer', browse to where your images are, select a few, then click 'Open'. You will then see a list of your selected images. Click OK.
Alternatively, choose 'Add folder' if you want to add a whole folder of images.
Banner02 displays pictures with optional 1 line of text and 50 transitions. Fader01 is a large screen, high performance picture fader with no text.

You will now see your pictures on screen, playing one after the other. Select the images to move these around the screen. Drag the corner to resize or if you want full screen, right mouse click and select 'Size', 'Full Screen'. I chose full screen.
Double clicking into each control, for example the Banner control, gives you further options. Double click the Banner control (your pictures) and in the 'Banner General' tab, you can adjust the transition speed in the 'Delay between slides' box, for example, 1 second, to 5 seconds. Each picture now displays on screen for 5 seconds.
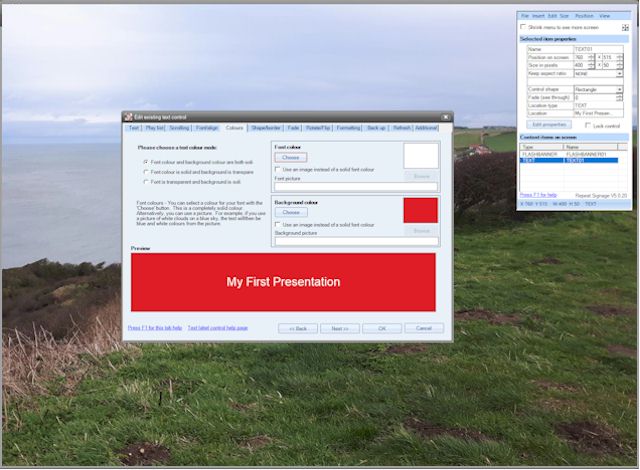
From the toolbox, select 'Insert', then 'Insert text label (single line of text)'. This opens up the Insert text label box. Type your text in the box. Click OK. Your text appears on screen. Double click into the text control, and change the font size, background colour and font colour. Click OK.
You can adjust the height of the text label by selecting the corner and resizing. Right mouse click and select 'Size', then 'Screen width' to resize the width. Move (drag) your text to the top of the screen or whether you want to position it.
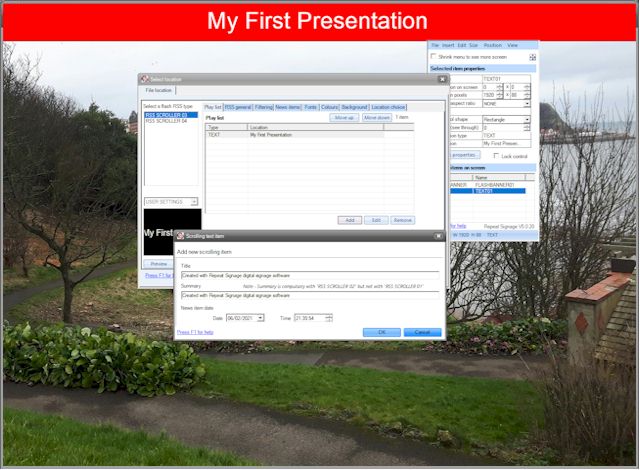
From the toolbox, select 'Insert' then 'Insert RSS reader'. You can browse to locate your .xml file. Click OK.
To add an RSS manually, click on the 'location choice' tab,
and then 'Manually add playlist items'. RSS
Scroller03 just displays one line of text (Title).
RSS Scroller04 displays two lines of text.
I used RSS Scroller03. Type your text in the Title. Copy this
into the Summary box (Ctrl C to copy; Ctrl V to
paste). Click OK. Select the 'RSS General' tab
for options how you want your text to appear. I
chose 'Scroll from left'. The 'Preview' box
gives you a preview. From the 'Font' and 'Colour'
tabs, make your preferences. Drag
the news feed into position and right mouse click,
'Size', 'Screen width'.

And you're almost finished. From the toolbox, select 'File' and 'Settings'. This opens the Presentation Settings box. Click on the 'Save Contents File' box, which keeps all your pictures etc., within the presentation file.
There is an option to change your screen size if you
are designing for a different size display screen. Click OK.
To save your file, select 'File' and 'Save As' and name your presentation.
Then select 'File' and 'Exit'. This takes you back to Presentation screen.
When you want to edit your presentation, select 'Open existing presentation'. To play your presentation, select 'Play presentation'.
If you prefer to view how to get started, then a 6 minute video (MP4) will walk you through achieving this.
Video step-by-step tutorial - how to create a school digital signage presentation (.MP4 18 minutes)
Video step-by-step tutorial - creating a restaurant or business digital signage presentation (.MP4 15 minutes)

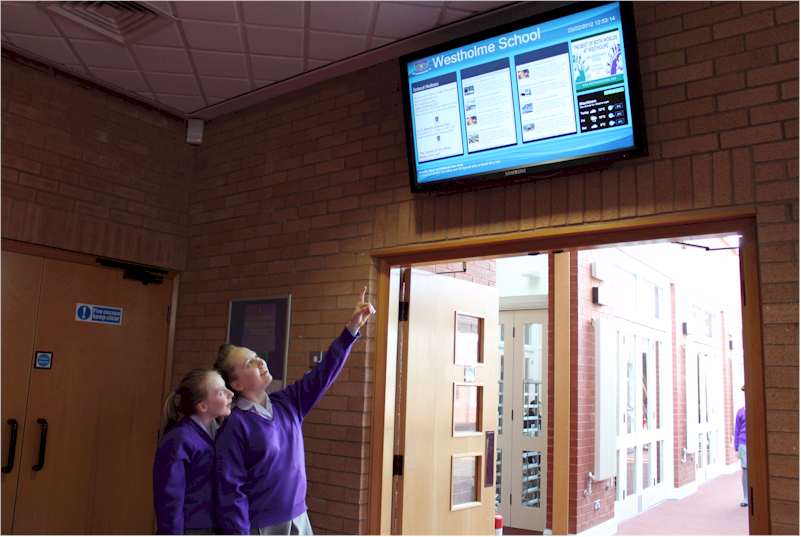
Repeat Signage digital signage software keeps residents updated at Repeat Signage at Westholme School
Contact our team"Repeat Signage enabled us to design screens that were flexible and easy to update. Initially we used PowerPoint but this didn’t give us the flexibility we needed so we purchased Repeat Signage.
After initial design work by myself I’ve managed to pass all updates on to our receptionists. Staff that want messages displaying on the screens simply hand their requests into reception and the receptionists handle all the updates. Due to Repeat Signage’s easy user interface staff required very little training and found that their current Microsoft Office skills were transferable to Repeat Signage.
Why not try it yourself